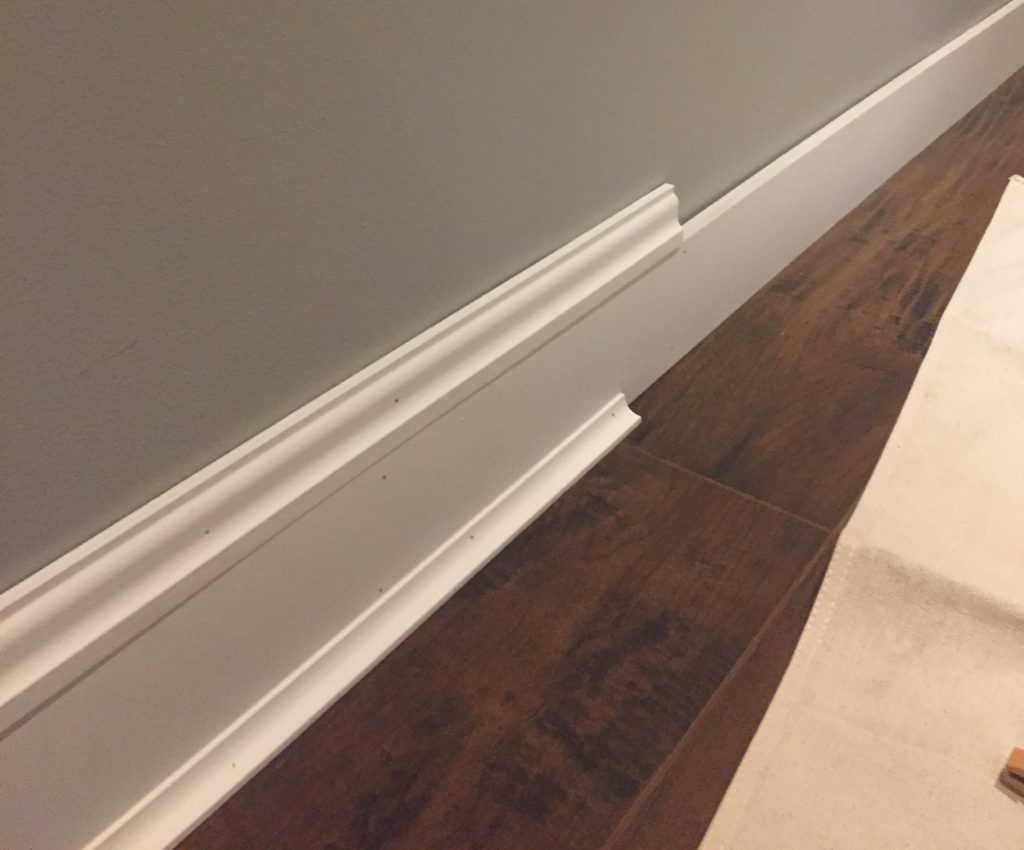
Which is a fancy way of saying add a thin piece of trim above your existing molding then paint the space in between for an eye fooling money saving fix. As well as being a beautiful detail they protect your walls from scuffs and other damage caused by daily life.
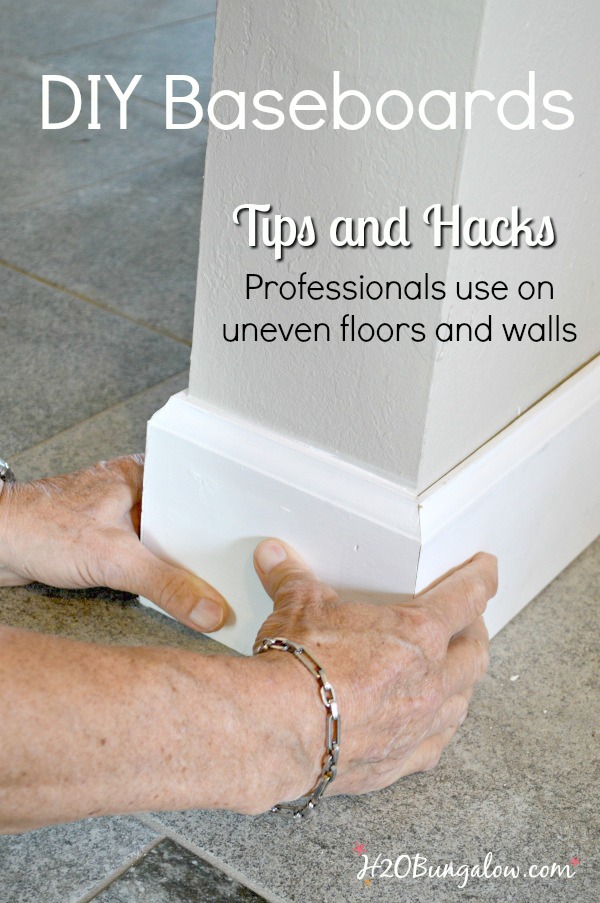 Diy Baseboard Tutorial H2obungalow
A bullnose bead is stacked on top of the base and butt against the wall.

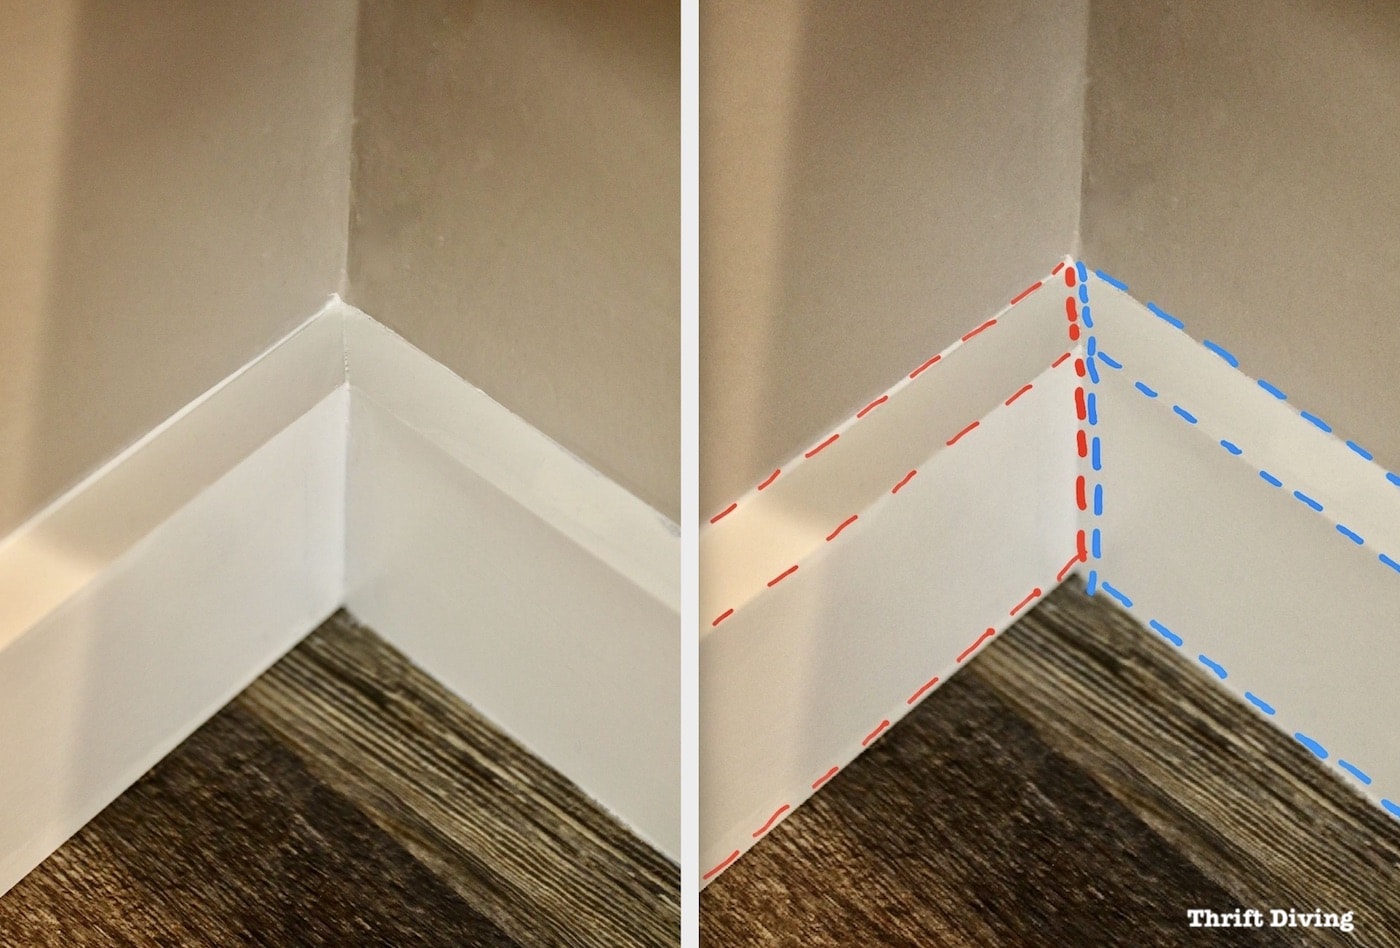
Do it yourself baseboard. Contents of the DRY-UP Baseboard DIY Kit. A better technique is coping the baseboard. The stop bead and cove are then each stacked on top of that and butted against the wall.
Learn how to install a baseboard that is exaggerated. Placing the Baseboard Register Diffuser over Framework. With the guiding baseboard there it should make sure that the board you already cut stays level.
To install this baseboard 1x2 furring strips are nailed to the wall framing first and the 1by is nailed along the front. Do this gently to avoid damaging the wall and floor. Installing baseboards is one of the easier molding projects to tackle.
It wont be long until your baseboard becomes a negative part of the look of any room and needs to be renovated but this renovation can be quite a bit of work for you to do yourself. In short you cut one side at the standard 45 degree angle then the other. If you dont do this youre likely to chip the surrounding paint or drywallStep 2 Use a pry bar to loosen the trim from the wall.
Purchase Fresh Shoe Baseboard. Now its fully installed. Step 1 Use a utility knife to cut through caulking or paint along the top edge of the trim.
DRY-UP Baseboard DIY Kit available in 12 lengths 5 per foot Do-It-Yourself Basement Solutions. It takes quite some time to take apart each part of baseboard and then you have to go about repainting cleaning or replacing the parts depending on how bad the damage is. If the baseboard molding style is a wood composite or MDF painting would be an excellent choice for finishing the baseboard.
Whether you are using varnish or paint applying the finish before installation and applying it to both sides to prevent warping is highly recommended. This project is from Home Depot and perfect for budget DIYers. Also be sure to use finish nails or staples with the smallest possible head set just below the baseboard surface.
Use a sandable filler for holes left from set nails and apply a light sanding after the filler is completely dry. Possibilities are that youll like to purchase the very same baseboard model youve got all over your household so the new baseboard appears similar to the previous condition. Home DRY-UP Baseboard DRY-UP Baseboard DIY Kit available in 12 lengths 5 per foot DRY-UP Baseboard DIY Kit available in 12 lengths 5 per foot.
First plan to install your longest runs or walls first. The installation of baseboards is similar to that of crown moulding and can do it yourself with careful planning and the right tools. When needed splice two pieces together like the diagram in the DIY baseboard cut cheat sheet.
Take the piece that you already cut and set it on top of the guiding baseboard firmly into the corner. You could do this at the ceiling too. You have to acquire fresh content for this design baseboard as well as shoe.
Sections of Baseboard Joint Connectors Adhesive 103 oz caulking tube Floor Cleaning Wheel Cleaning Pads Pair of Safety Glasses Pair of Latex Gloves 58 Trimming Trowel Spray Bottle Bottle of Adhesive Smoother Step by Step Instructions. Googling how to cope baseboard corner should get you on the right track. Baseboards are a lovely finishing touch in every home.
With your pencil trace a cutting line on your second baseboard using the baseboard you just cut as a guide. To operate it move the lever on. When you get to corners and room transitions like the one below have your DIY buddy hold the cut baseboard.
Aug 4 2018 - Explore Rhonda Penners board Baseboard Ideas on Pinterest. If necessary use another object like a screwdriver or a grouping of shims to help the process alongStep 3 Pull the trim away. Now place the baseboard register diffuser over the framework.
When preparing to finish the baseboard be sure to use a low-tack masking tape such as 3M Brand green or blue painters tape to mask walls and finished floor surfaces. See more ideas about moldings and trim diy home improvement baseboards. Once it is in place grab the cordless drill and screw the diffuser onto the framework.
If you are new to do-it-yourself projects this is a great way for you to get started.
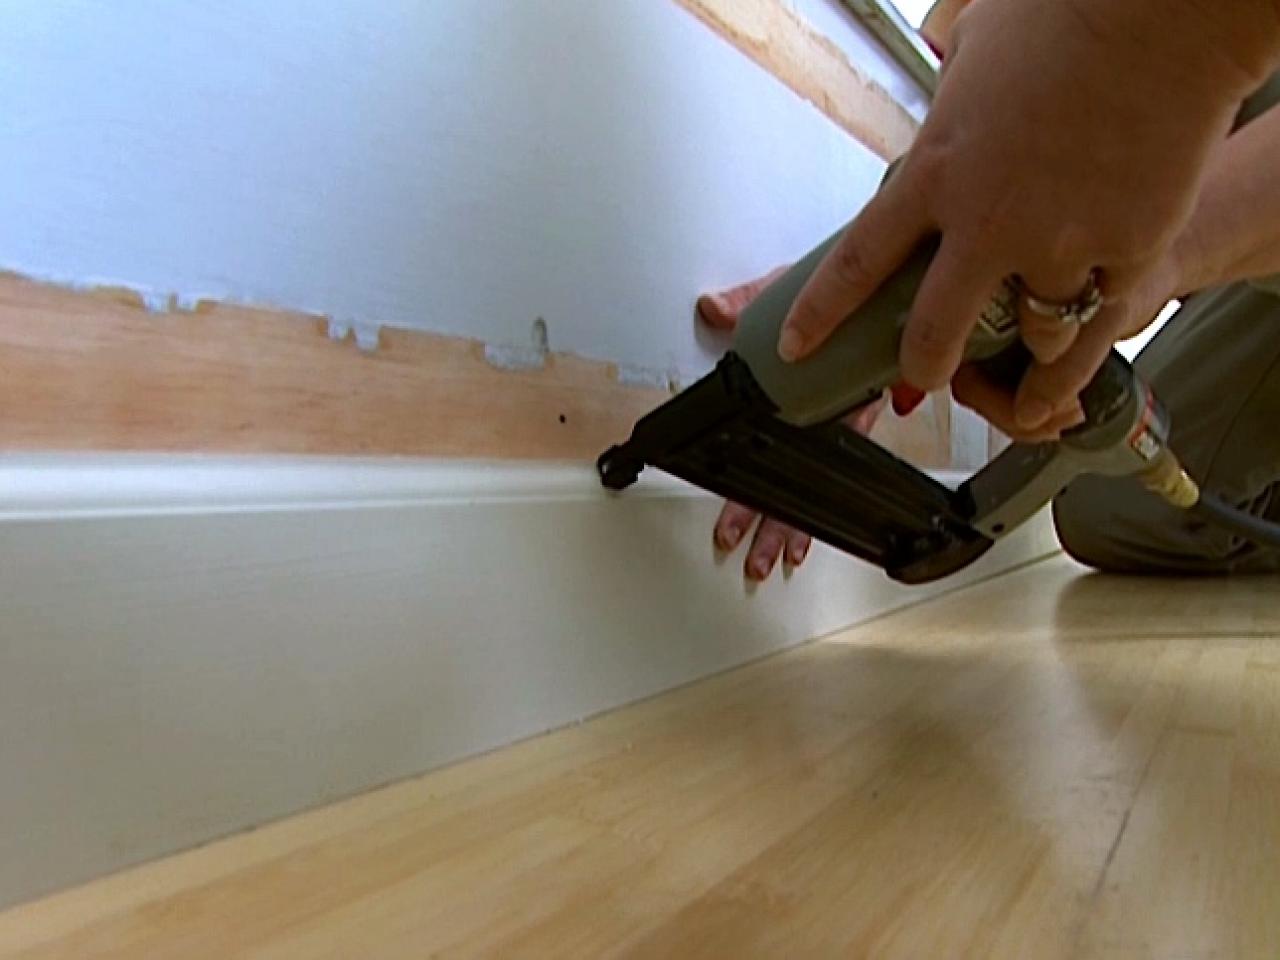 How To Install Baseboards How Tos Diy
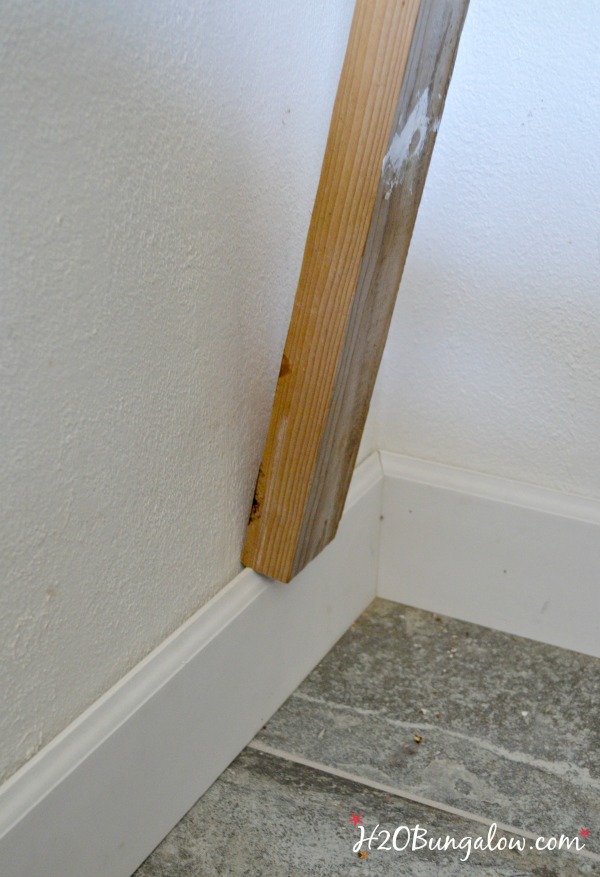 Diy Baseboard Tutorial H2obungalow
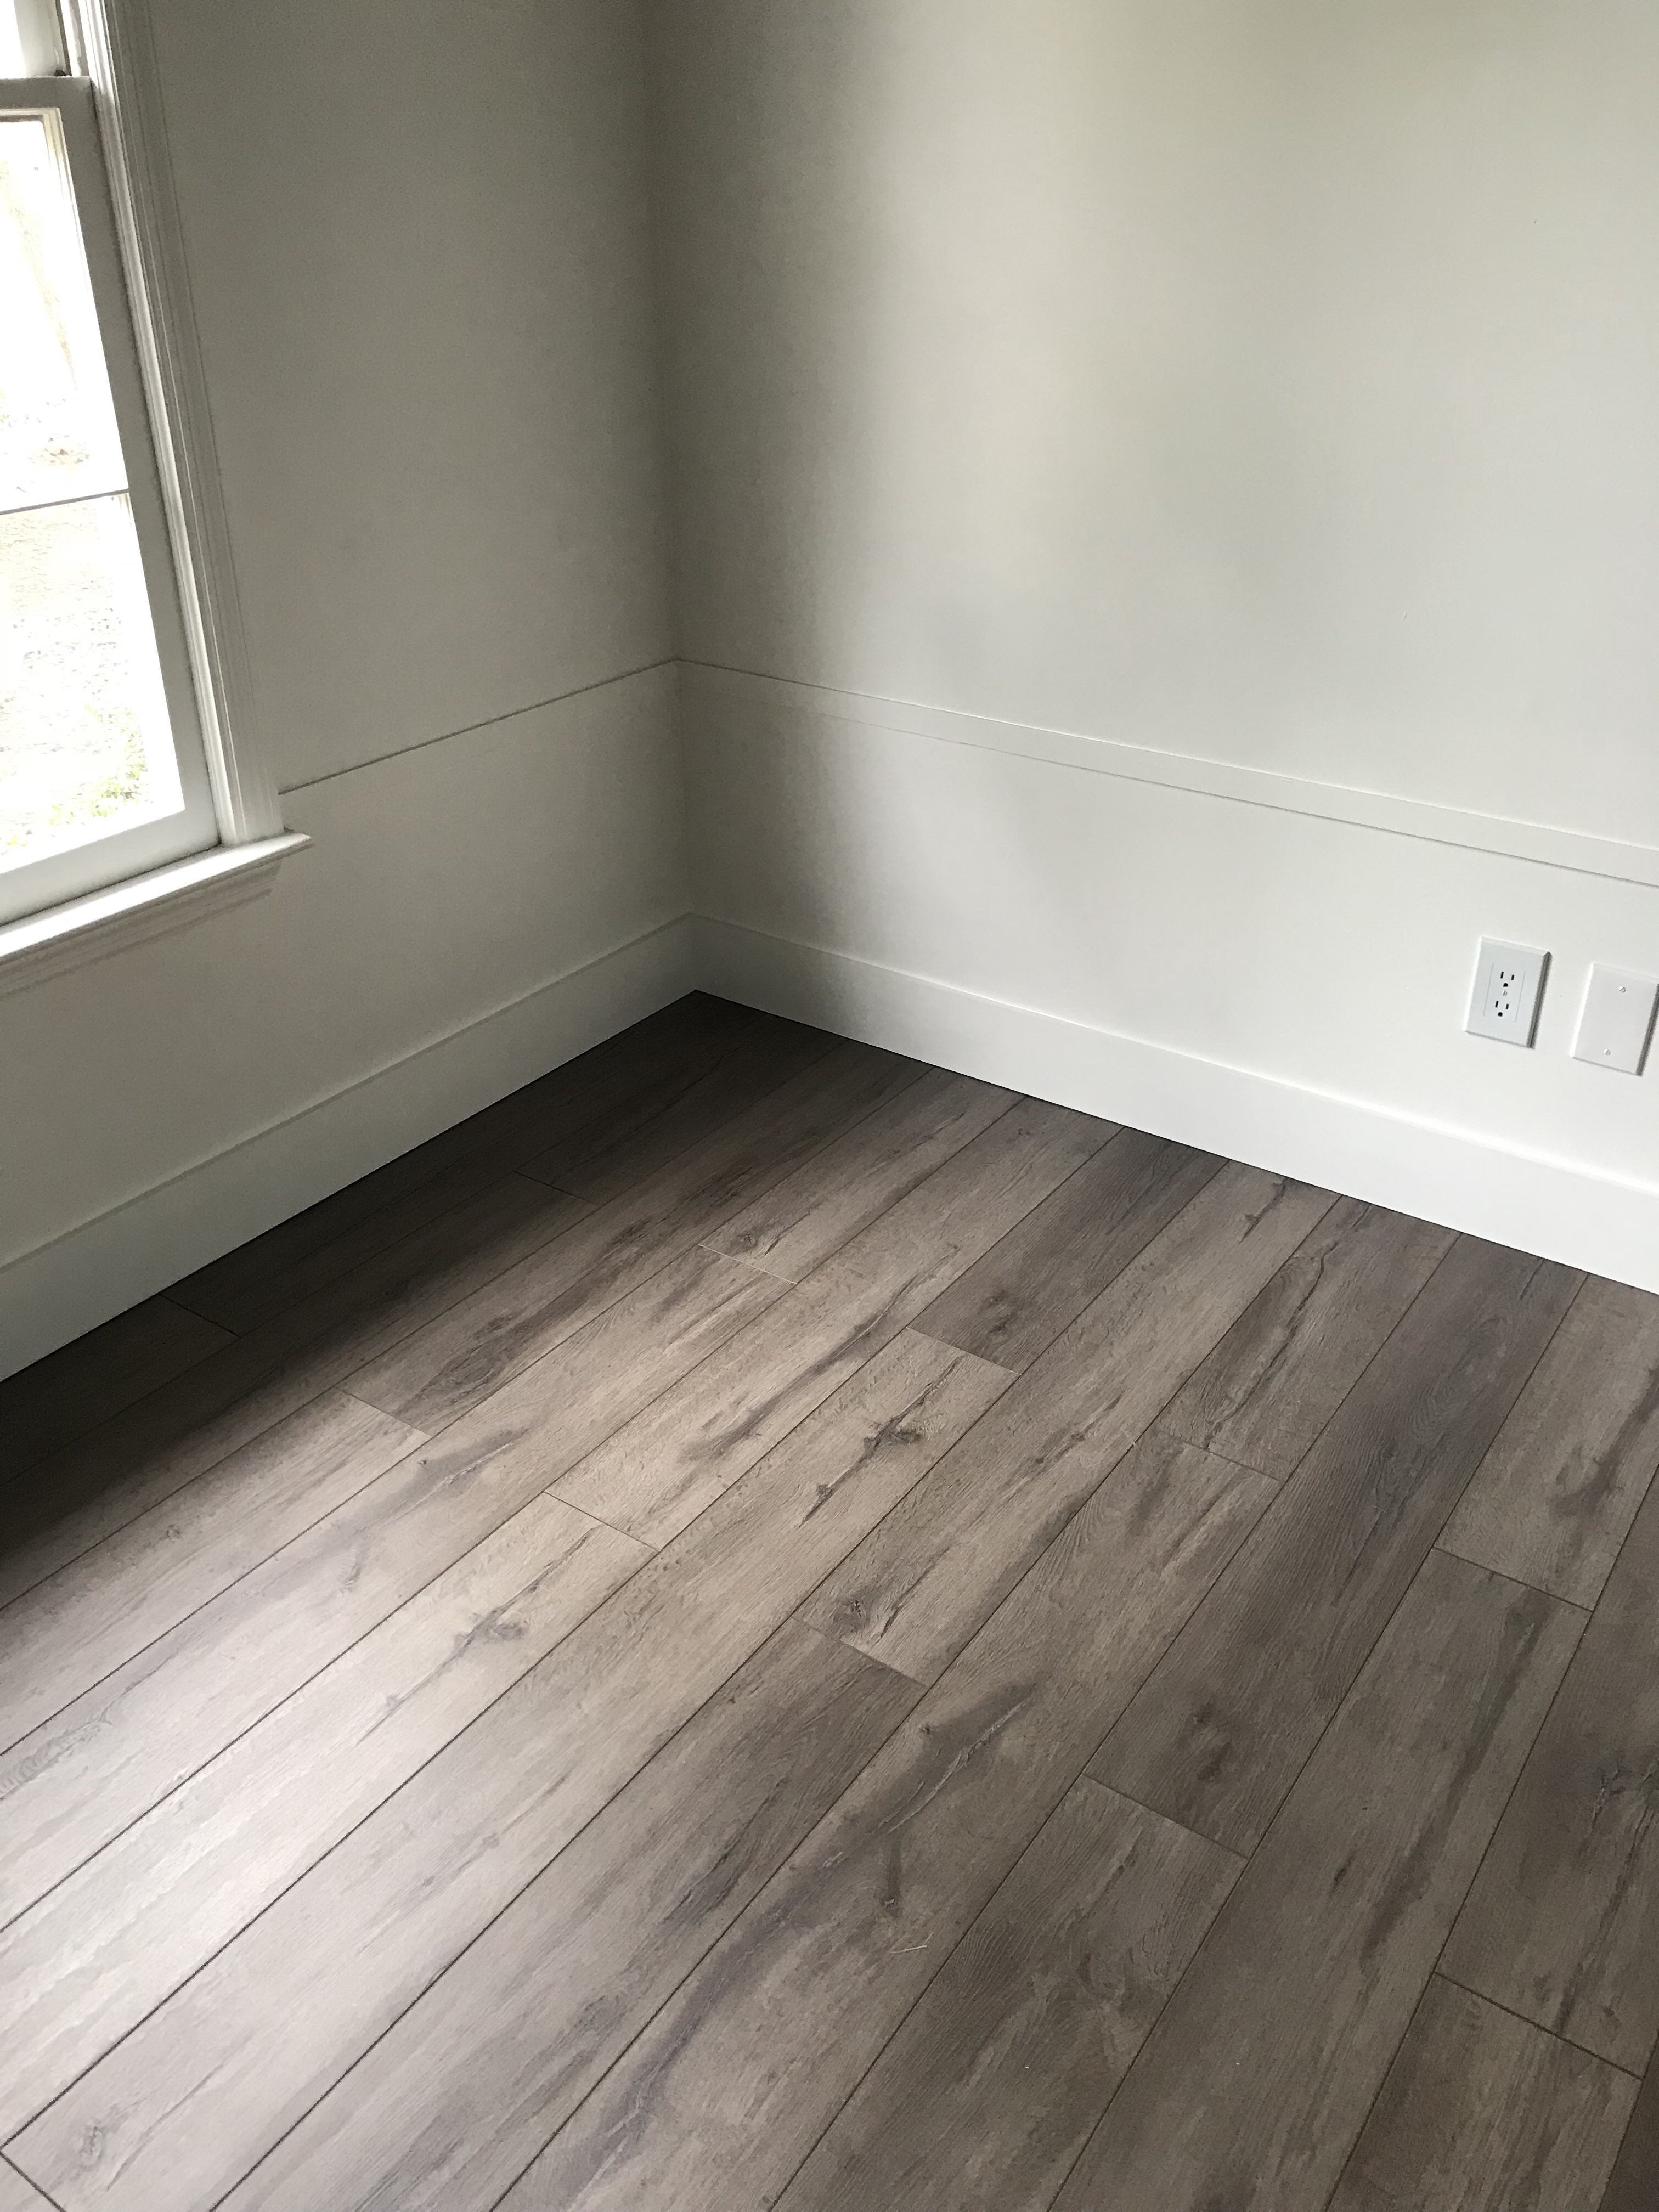
 Diy Baseboards Molding And Trim The Budget Decorator
 Diy Baseboards Molding And Trim The Budget Decorator
 How To Install Baseboard Yourself A Step By Step Guide
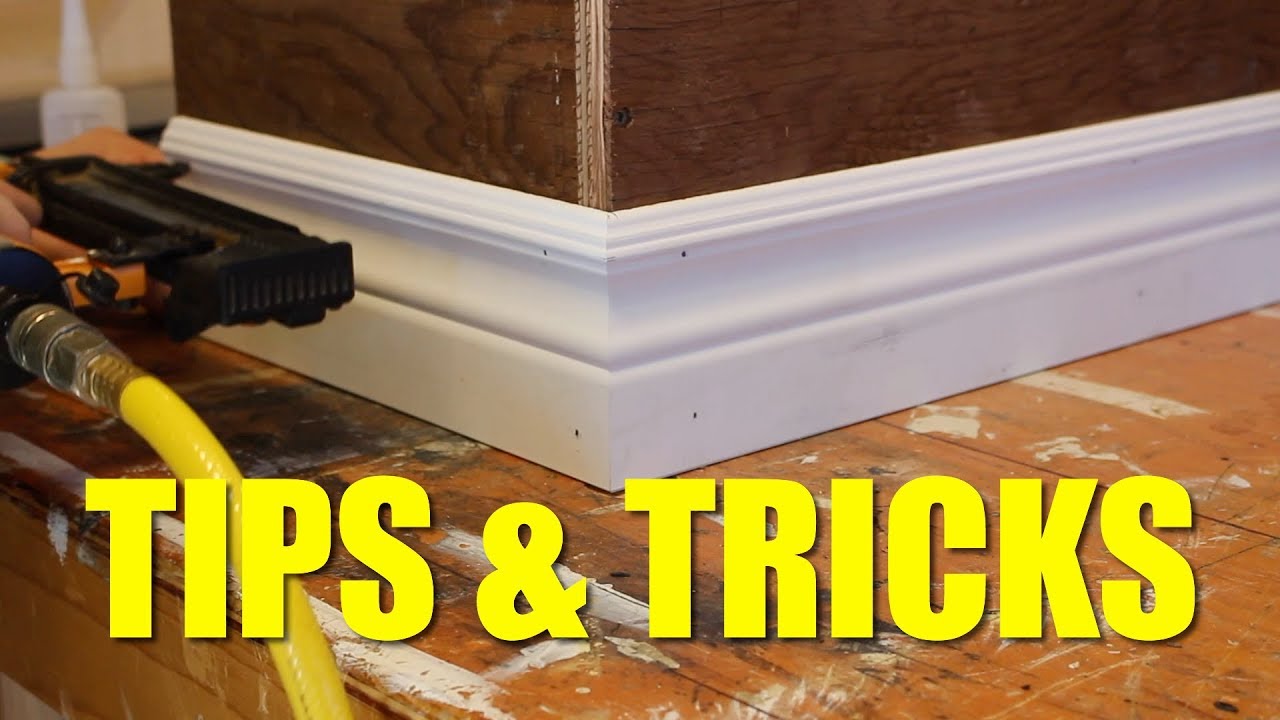 How To Install Baseboard Like A Pro Youtube
 Diy Baseboards Molding And Trim The Budget Decorator
 Diy Baseboards Molding And Trim The Budget Decorator
 How To Install Baseboards How Tos Diy
 Diy Home Improvement Home Diy Home Remodeling
Pin On Diy Decorating
Comments
Post a Comment